
Professional vs DIY Oven Repairs
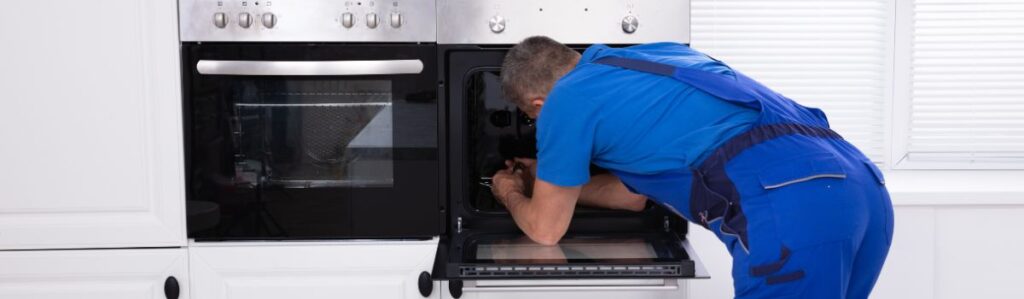
Professional vs. DIY Oven Repairs: Which One’s Right for You?
Picture this: you’ve just prepped dinner and hit the oven preheat button and nothing happens. No heat, no light, just silence. Maybe it’s a small glitch, or maybe it’s something bigger. Either way, one question immediately arises: Should I try fixing this myself, or do I need to call a professional? Maybe it’s time to consider a stove upgrade, too.
It’s a situation that plays out in countless homes across British Columbia every week. With appliance repair costs on the rise and DIY tutorials more accessible than ever, it’s tempting to roll up your sleeves and handle it yourself. But ovens, especially gas or high-end electric models, can be complex, sensitive, and even dangerous if not properly handled.
The decision isn’t just about saving money. It’s about safety, long-term reliability, legal requirements, and whether you’re prepared to take risks. In this guide, we’ll walk you through both sides: what you can safely handle at home and when it’s smarter and safer to bring in a licensed pro. We’ll also explore common oven problems, cost comparisons, warning signs, and how to prevent future issues in the first place.
Whether you’re handy with a screwdriver or just trying to avoid a costly mistake, this is your roadmap to smart oven repair decisions.
What’s Wrong? Common Oven Problems at a Glance
Ovens are built to last, but they’re far from immune to wear and tear. Knowing what’s wrong is the first step in deciding how to fix it and whether you should.
Let’s examine some of the most common issues homeowners encounter and divide them into two categories:
Minor or DIY-Friendly Issues:
- Oven light won’t turn on: This is often just a burned-out bulb.
- The oven doesn’t heat evenly: Sometimes caused by a dirty sensor or a faulty bake element.
- The door seal looks worn: A cracked or brittle gasket can be replaced easily.
- The digital clock is not working: If it’s a power surge, a reset might fix the issue.
Serious or Pro-Level Problems:
- The oven won’t heat at all: It could be an igniter, thermal fuse, or a control board failure.
- The burner doesn’t ignite (gas models): This may involve gas line issues or a failing safety valve.
- The oven trips the circuit breaker, Pointing to deeper electrical issues.
- Strange smells or smoke: Potential fire hazards or chemical residue burning off.
- Touchscreen or control board malfunctions: Usually beyond what a typical homeowner can fix.
Understanding your issue’s category will help you gauge the risks and complexity involved. If you can identify, isolate, and replace it without exposure to gas or electricity, you might be able to handle it. But it’s time to think twice if it’s buried behind panels or tied to your electrical system.
DIY Oven Repair: What You Can Safely Handle
If you’re reasonably handy, have basic tools, and understand the risks, you might be able to tackle a few oven repairs yourself. These tasks are considered low-risk and don’t require deep mechanical or electrical knowledge.
Here are a few examples of DIY-safe repairs:
1. Replacing the oven light bulb
Make sure the power is off, and the bulb is compatible with your model. This is one of the simplest and safest fixes.
2. Cleaning vent filters or fan covers
Over time, grease and food particles can clog the airways. A good cleaning can improve performance if your oven has a removable fan cover or filter.
3. Resetting the circuit breaker
Sometimes, ovens trip the breaker after a power surge or storm. A simple reset from the panel might solve the problem, assuming it doesn’t trip again.
4. Replacing knobs, racks, or door gaskets
Cosmetic and surface-level parts are easily replaced using online tutorials or the manufacturer’s manual. As long as you don’t access internal wiring, you’re usually in the clear.
Safety Tips Before You Start:
- Unplug the oven or shut off the power at the breaker.
- Turn off the gas valve before attempting anything if it’s a gas oven.
- Wear gloves, and keep your work area dry and well-lit.
Still, even with minor tasks, things can go wrong quickly if you’re not cautious. Always do your homework before starting a repair, and when in doubt, pause and reassess.
When DIY Goes Wrong: Risks to Watch For
There’s a fine line between a simple fix and a costly mistake. What starts as a quick project can easily snowball into a major problem especially when electricity or gas is involved.
Risk #1: Gas Leaks
Gas ovens require extreme care. A misaligned valve or cross-threaded connection could create a dangerous leak, and even a slight mistake can turn your kitchen into a safety hazard.
Risk #2: Electrical Shock or Fire
Ovens draw significant power, often through a 240V line. One slip while removing a back panel or testing a live wire could result in a severe shock or worse.
Risk #3: Voiding Your Warranty
Most oven warranties clearly state that unauthorized repairs will void coverage. So, even if you fix the issue, future problems may no longer be covered.
Risk #4: Misdiagnosing the Problem
You might replace a working part and still have the same issue or cause new ones. We’ve seen cases where a DIYer tried replacing a thermostat only to short out the entire control board due to static discharge.
Why Professional Repairs Often Make More Sense
Oven repair technicians aren’t just good with tools they’re trained to troubleshoot, diagnose, and fix issues accurately and safely. And in BC, that’s more than a perk it’s the law in many cases.
Here’s why choosing a professional may be the better option:
- They diagnose faster. A seasoned tech can identify the root cause without trial and error.
- They bring the right tools and certified parts. You don’t have to guess or buy tools you’ll use once.
- They ensure safety. Licensed professionals are trained in gas lines and high-voltage safety protocols.
- They protect your warranty. Most repairs done by pros keep your appliance’s coverage intact.
- They handle legal compliance. In BC, a licensed gas fitter must perform gas appliance repair; doing it yourself can lead to liability issues with insurance or property inspections.
Hiring a professional isn’t admitting defeat. It’s making a smart, informed choice that protects your investment, safety, and time.
Cost Breakdown: DIY vs. Pro
Cost is a big part of the decision but don’t just compare sticker prices. Let’s break it down clearly.
DIY Oven Repair
- Replacement parts: $10 to $70
- Tools (if not already owned): $30 to $100
- Your time: 1 to 4 hours
- Risk: higher (especially if misdiagnosed or done improperly)
Professional Oven Repair
- Diagnostic visit: $90 to $120
- Labor: $60 to $100/hour
- Parts: included or marked up
- Risk: minimal (warranty-backed, insured work)
It’s also worth considering the hidden costs of DIY. If you damage a component, miswire a connection, or cause further issues, a technician may charge more to undo and redo the work.
Questions to Ask Before Choosing DIY or Pro
Before you grab your screwdriver or your phone, pause and ask:
- Do I fully understand what the problem is?
- Is my oven still under manufacturer’s or extended warranty?
- Am I legally allowed to fix this (especially gas-related repairs in BC)?
- Do I feel confident doing this safely without risking injury or further damage?
- Can I research, troubleshoot, and source the right parts?
If you answer “no” to more than one of these, skipping the DIY route is best.
Red Flags: Always Call a Pro If You Notice
Some situations are non-negotiable. These red flags mean you stop, return from the oven, and call a technician.
- Smell of gas or propane
- Burning, smoke, or visible sparks
- Repeated tripping of the circuit breaker
- Touchscreen or digital controls are completely unresponsive
- Oven is making loud, unusual noises (e.g., banging or buzzing)
These aren’t just signs of malfunction, they’re safety hazards. Handling them on your own can put your health and home at serious risk.
Preventing Repairs in the First Place
Like most major appliances, ovens benefit from regular TLC. A little maintenance can prevent costly breakdowns.
Simple Habits to Extend Your Oven’s Life:
- Don’t slam the door; this can damage seals and hinges over time.
- Clean up spills promptly to avoid buildup that can clog vents or burn into components.
- Check the door gasket every few months and replace it if it’s cracked or loose.
- Avoid blocking air vents with oversized pans or foil.
- Limit self-cleaning features, which heat the oven to extreme levels and can strain components.
- Schedule annual maintenance, especially for gas ovens. A quick checkup can identify issues before they escalate.
Prevention is always cheaper and easier than repair.
Conclusion
Knowing how to respond when your oven acts up can save money, protect your home, and spare you a major headache. DIY can be empowering if you’re comfortable with small tasks like bulb replacement or minor cleanups. But regarding anything involving gas, electricity, or diagnostics beyond your experience, calling a professional isn’t just the safest option, it’s often the smartest.
Whether you’re troubleshooting a cold oven or planning to avoid future problems, one rule always applies: know your limits and respect them.