
How to Fix a Jammed Garburator in Victoria Kitchens
Garburators, also known as garbage disposals, are essential appliances in modern kitchens that help manage food waste efficiently. Installed under the sink, they grind up food scraps into small particles that can easily pass through plumbing, reducing the risk of clogged drains and making kitchen cleanup more convenient. Knowing how to maintain a green garburator can also extend the life of your unit and keep it running efficiently.
However, garburators can sometimes become jammed, disrupting their function and causing unpleasant odors or noises. Common causes of a jammed garburator include grinding hard materials like bones or fibrous vegetables, overloading the unit, or foreign objects accidentally falling into the disposal. Signs of a jammed unit often include unusual humming sounds, the inability to turn on, or a complete stoppage of the grinding mechanism.
In Victoria kitchens, specific considerations such as the type of plumbing systems and local water regulations may impact garburator maintenance and repair. Understanding these factors can help homeowners effectively address jams and ensure their garburators operate smoothly and comply with regional standards.
Understanding Your Garburator
Types of Garburators Commonly Used in Victoria
In Victoria kitchens, the most common types of garburators (garbage disposals) are continuous feed and batch feed models. Continuous feed garburators operate as long as the unit is switched on, allowing you to add waste gradually. Batch feed models require the unit to be covered and locked before operation, providing an extra layer of safety.
Both types are designed to handle typical kitchen waste such as vegetable scraps, small bones, and soft food remains. The choice between these models often depends on household needs and safety preferences.
Key Components and Their Functions
Understanding the internal parts of your garburator can help in diagnosing issues and performing basic repairs.
Impellers: These are small, wing-like components that spin rapidly to push food waste against the grinding chamber walls. Unlike blades, impellers do not cut but use centrifugal force to break down waste.
Grinding Chamber: This is where the food waste is pulverized. The chamber contains a stationary grind ring with sharp edges that work with the impellers to grind the waste into tiny particles small enough to be flushed away.
Motor and Electrical Parts: The motor powers the rotation of the impellers and is typically located at the base of the unit. It is connected to the electrical system via a power cord or hardwired connection. The motor’s strength determines the garburator’s grinding capability and efficiency.
Knowing these components and their roles helps in identifying problems such as jams, motor failure, or grinding inefficiency, which are common issues faced in Victoria kitchens.
Diagnosing a Jammed Garburator
When your garburator is jammed, it often displays clear signs that something is wrong. Identifying these symptoms early can help you address the issue before it worsens.
Identifying Symptoms
- Unusual Noises: If you hear grinding, clanking, or squealing sounds that are not typical, this could indicate a jam inside the unit.
- Lack of Grinding: When the garburator fails to grind food waste effectively or at all, it may be jammed.
- Motor Humming: Sometimes the motor will hum but the blades won’t turn, signaling that the motor is trying to run but is obstructed.
Safety Precautions
Before you inspect or attempt any repair, always unplug the garburator from the power source. This is crucial to prevent accidental activation and ensure your safety during the diagnosis and repair process.
Step-by-Step Jammed Garburator Repair
Tools Needed
Before starting the repair, gather the following tools:
- Self-service wrench (hex wrench)
- Flashlight
- Gloves
Manual Unjamming Process
Use the self-service wrench:
Insert the hex wrench into the bottom of the garburator. Manually rotate the impellers back and forth to free them from any obstruction. This can help dislodge whatever is causing the jam and is a recommended first step.Inspect the grinding chamber:
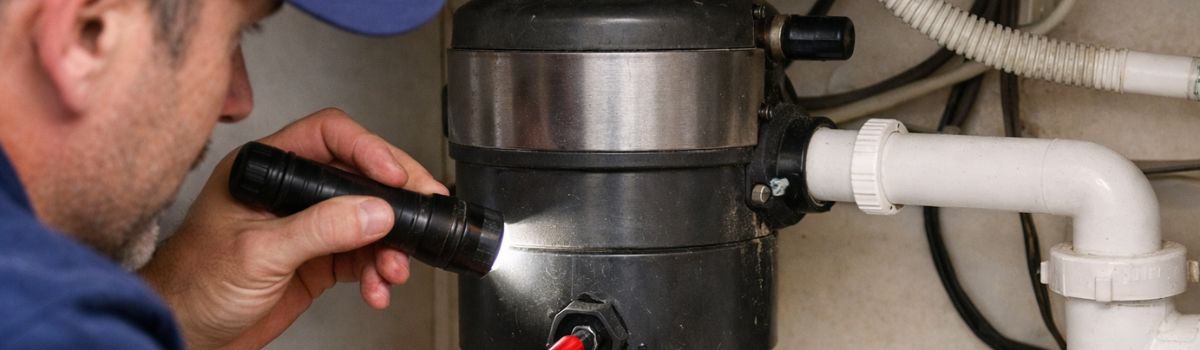
Shine a flashlight into the grinding chamber and look for any visible objects blocking the blades. Use gloves to carefully remove any debris or foreign objects that might be causing the jam.Test the reset button and power:
Locate the reset button on the bottom of the unit. Press it to reset the garburator after clearing any obstruction. Ensure the unit is plugged in properly and that the circuit breaker hasn’t tripped.
Upgrading or Replacing Your Garburator
Sometimes, repairing a jammed garburator is not the most cost-effective solution. If your unit is old, frequently jams, or requires expensive repairs, upgrading or replacing it may save you money and hassle in the long run. Continuous repairs can add up, and older models might not meet current energy efficiency standards or be designed to prevent jams effectively.
When choosing a new garburator for your Victoria kitchen, it’s important to select one that is both energy-efficient and jam-resistant. Energy-efficient models reduce electricity and water usage, lowering your utility bills and environmental impact. Look for units with good power-to-performance ratios and certifications indicating energy savings.
Jam-resistant models often feature advanced grinding technology, such as multi-stage grinding or swivel impellers, which help prevent clogs and make the unit easier to maintain. These features are especially valuable in busy households or kitchens that generate more food waste.
By selecting a garburator designed for efficiency and durability, you can enhance your kitchen’s performance and avoid frequent repairs. Consider models recommended for Victoria homes, as they are better suited to local plumbing and power conditions.
Summary and Additional Resources
To effectively address a jammed garburator, start by ensuring the unit is powered off to avoid accidents. Use a hex wrench or a similar tool to manually turn the impellers and clear any obstruction. Check for and remove any lodged debris or foreign objects inside the grinding chamber. Regular maintenance, such as running cold water during operation and avoiding fibrous or hard materials, can prevent future jams.