
How to Fix a Slow Draining Garburator
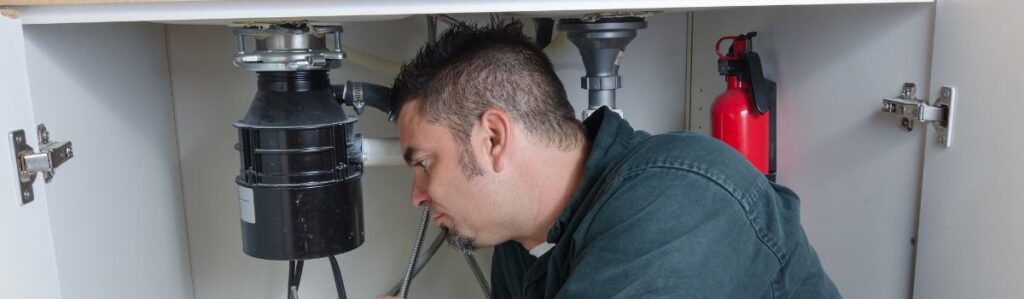
How to Fix a Slow-Draining Garburator: A Step-by-Step Guide
A garburator is one of those modern kitchen conveniences you don’t fully appreciate until it stops working properly. Designed to grind up food waste and send it smoothly down the drain, a garburator keeps your kitchen cleaner and more efficient. But when it begins to drain slowly, even simple tasks like washing dishes or preparing meals can become a hassle. The good news is that slow drainage is often a fixable problem, and with the right guidance, you can restore your garburator to peak performance without calling a plumber.
In this guide, we’ll explain everything you need to know: how to spot the signs of a problem, what causes it, and the exact steps to fix it. We’ll also share preventative maintenance tips to keep your garburator running smoothly in the long term. Let’s get started!
How to Identify a Slow-Draining Garburator
Signs of a Problem
A slow-draining garburator isn’t always immediately noticeable. You might first see water pooling in your sink, which drains at a snail’s pace after you use the garburator. Over time, this pooling water can create a breeding ground for unpleasant odors, especially if food particles are stuck in the system. You might also hear unusual gurgling sounds as water struggles to move through the pipes, which is often a telltale sign of a developing blockage.
The earlier you notice these signs, the easier it will be to resolve the problem. Ignoring them can lead to more significant issues, like complete clogs or damage to your plumbing system.
Differentiating a Clog from Other Issues
Not all drainage problems are caused by clogs. If your garburator hums when you switch it on but doesn’t grind, the issue might be mechanical, such as jammed blades or a worn-out motor. If the unit is completely silent, the problem could be electrical, a tripped circuit breaker or a disconnected power source. Understanding whether the issue is due to a clog, a mechanical failure, or an electrical fault can help you choose the right course of action.
Common Causes of Slow Drainage
Food Build-Up
Garburators are excellent for grinding food scraps, but not all scraps are created equal. Foods like coffee grounds, fibrous vegetables (think celery or corn husks), and starch-heavy leftovers like pasta or rice can build up inside the unit over time. Grease and oils are another major culprit they may flow down the drain when hot but harden as they cool, creating stubborn blockages.
Improper Use
Garburators are not designed to handle everything you throw at them. Placing large quantities of food or non-food items like paper towels or plastic wrappers into the unit can strain its capacity and lead to slow drainage. Overloading the garburator in a single session is another common mistake that can overwhelm the system.
Plumbing Issues
Sometimes, the garburator itself isn’t to blame. The P-trap is a U-shaped pipe beneath your sink or other plumbing connections can become clogged over time. These blockages restrict water flow, even if the garburator is functioning properly.
Mineral Deposits
If you live in an area with hard water, mineral buildup in your pipes or garburator can narrow the passage for water flow. This is a slower-developing issue but can lead to significant drainage problems if not addressed.
Step-by-Step Guide to Fixing a Slow-Draining Garburator
Before You Begin: Safety First
Safety should always be your first priority. Before you touch your garburator, disconnect it from its power source by unplugging it or turning off the circuit breaker. Never attempt to reach into the garburator while it’s powered on. Avoid using chemical drain cleaners, as these can corrode the metal components inside your garburator and potentially damage your plumbing system.
Step 1: Flush with Hot Water
Start with the simplest fix: pouring a kettle of boiling water down the drain. This can help dissolve grease and loosen debris. Let the hot water sit for a few minutes before testing the drainage. If the water flows more freely, you’ve likely resolved a minor blockage.
Step 2: Check and Remove Surface Obstructions
Use a flashlight to look inside the garburator. If you spot visible debris, use tongs or pliers to remove it carefully. Never use your hands, even if the unit is unplugged—garburator blades can be sharp and may still pose a risk.
Step 3: Reset the Garburator
Locate the reset button, usually found on the underside of the unit. Press the button firmly to reset the garburator. This can resolve issues caused by overloading or overheating.
Step 4: Clean the P-Trap
Place a bucket under the P-trap to catch any water or debris before loosening the pipe connections. Remove the P-trap and clear out any blockages inside. Reassemble the pipe, ensuring all connections are tight before running water to test the drainage.
Step 5: Use a Natural Drain Cleaner
Mix half a cup of baking soda and vinegar, and pour it into the garburator. Let the mixture sit for about 15 minutes, allowing the chemical reaction to break down stubborn blockages. Follow up with a flush of boiling water.
Step 6: Test the Drainage
Turn the power back on and run water through the garburator while it’s operating. If the water drains freely, the issue is resolved. If not, move on to advanced fixes.
Advanced Fixes for Persistent Problems
Check the Plumbing Lines
If clearing the garburator and P-trap doesn’t solve the issue, inspect the plumbing lines for obstructions. Look for kinks, blockages, or signs of wear that might restrict water flow.
Snake the Drain
Use a plumbing snake or auger to break up the obstruction for deeper clogs. Insert the snake into the pipe and turn it slowly to dislodge any blockages.
When to Replace the Garburator
If your garburator is more than a decade old or has frequent issues, replacement might be more cost-effective than repairs. Look for models with higher horsepower for improved performance and longevity.
Preventative Maintenance Tips
Daily Best Practices
After every use, run cold water through the garburator for 15–30 seconds to flush out any remaining debris. Cold water helps solidify grease, preventing it from sticking to the unit.
Monthly Maintenance
Grind a handful of ice cubes with a tablespoon of rock salt to clean the blades and remove buildup. Follow with a few lemon peels to eliminate odors and leave a fresh scent.
Plumbing Maintenance
Schedule professional plumbing inspections annually to ensure your pipes and garburator are in good condition.
FAQs
Can I use chemical drain cleaners on my garburator?
No, they can damage the unit and pipes. Stick to natural cleaning solutions.
How long does a typical garburator last?
Most garburators last 8–12 years with proper maintenance.
Are slow-draining issues covered under warranty?
This depends on the manufacturer. Always check your warranty terms.
What foods should I avoid putting in my garburator?
Avoid fibrous, starchy, greasy foods, bones, and non-food items.
Conclusion
A slow-draining garburator can be an inconvenience, but it’s a manageable problem to fix with the right steps. Proactive care can save you from costly repairs, from clearing clogs to maintaining the system. If you still face issues, don’t hesitate to contact a professional. For expert garburator repair in Coquitlam, BC, contact ElectraFix Appliance Repair. Let us help you get your kitchen back on track!