
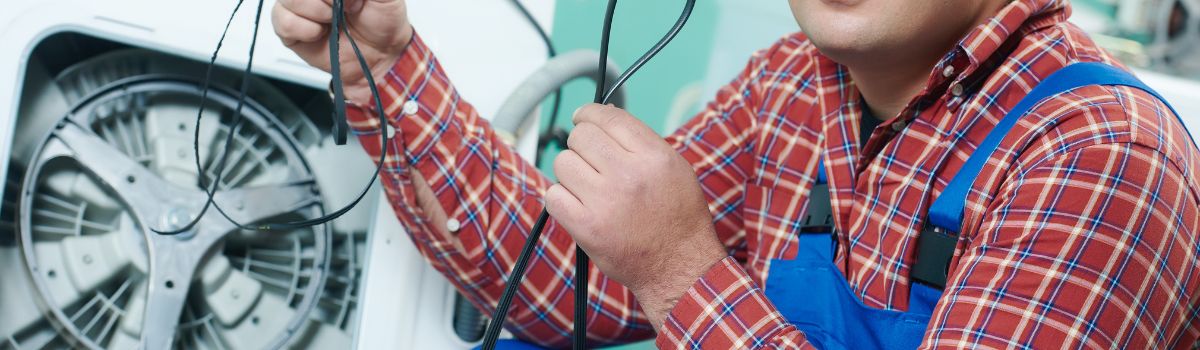
Step-by-Step Help for Replacing Dryer Belts Safely at Home in Delta
Dryer belts play a crucial role in the operation of your dryer by wrapping around the drum and motor pulley to rotate the drum during drying cycles. Without a properly functioning dryer belt, the drum will not turn, and your clothes will remain wet.
Replacing the dryer belt at home offers several benefits, including saving money on professional repair services and gaining a better understanding of your appliance. By handling the replacement yourself, along with simple dryer quick fixes, you can quickly restore your dryer’s functionality without the wait or expense of a technician.
Before starting the replacement process, it is essential to follow key safety precautions. Always unplug the dryer from the power source to prevent electrical shock. Additionally, ensure the dryer is completely cool to avoid burns, and work in a well-lit, uncluttered area. Taking these steps will help you perform the replacement safely and effectively.
Understanding Dryer Belts and Related Components
Role and Function of Dryer Belts
Dryer belts play a crucial role in the operation of your dryer by driving the drum. The belt wraps around the drum and connects to a motor-driven pulley. When the motor runs, it turns the pulley, which in turn rotates the belt and drum. This rotation is essential for tumbling clothes inside the dryer, allowing hot air to circulate and dry them efficiently.
The dryer belt works closely with other components such as rollers and bearings. Rollers support the drum and allow it to spin smoothly, while bearings reduce friction and wear. Together, these parts ensure the drum rotates evenly and quietly. Over time, the belt can wear out or break due to continuous friction, heat exposure, or misalignment of the rollers and bearings. Regular use, overloading, or debris buildup can also contribute to belt deterioration.
Common Signs Your Dryer Belt Needs Replacement
Recognizing when your dryer belt needs replacement is key to maintaining your dryer’s performance. Some common signs include:
- The drum not spinning or spinning unevenly, which indicates the belt may have snapped or slipped off.
- Unusual noises like squeaking or thumping during operation, often caused by a worn or loose belt rubbing against other parts.
- Clothes taking longer to dry or not drying properly, as the drum fails to tumble effectively.
- Visible wear, cracks, fraying, or damage on the belt itself when inspected.
Monitoring these signs can help you identify belt issues early and replace the belt before it causes more significant damage or reduces drying efficiency.
Preparing for Dryer Belt Replacement
Tools and Materials Needed
Before starting the dryer belt replacement, gather all necessary tools and materials to ensure a smooth process. You will need:
- A replacement dryer belt that is compatible with your specific dryer model. Verify the model number before purchasing.
- Basic tools including screwdrivers, pliers, and a socket wrench to remove and reinstall parts.
- Protective gear such as work gloves and safety goggles to protect your hands and eyes during the repair.
Safety Precautions
Safety is crucial when working with appliances. Follow these precautions to avoid accidents:
- Always unplug the dryer from the electrical outlet before beginning any repair work. This prevents the risk of electric shock.
- Work in a well-lit and well-ventilated area to ensure you can see clearly and avoid inhaling dust or debris.
- Handle all dryer components carefully, especially sharp edges and springs, to prevent injury.
Taking these preparatory steps seriously will help you replace your dryer belt safely and efficiently.
Step-by-Step Guide to Replacing a Dryer Belt
1. Accessing the Dryer Drum
Begin by unplugging your dryer for safety. Depending on your dryer model, remove either the top panel or the front panel to access the drum. This usually involves unscrewing a few screws and carefully lifting the panel off. Once opened, locate the drum and the dryer belt wrapped around it.
2. Removing the Old Belt
Next, loosen the tensioner to relieve tension on the belt. Carefully detach the belt from the motor pulley and the drum. Take note of how the belt is positioned to help with installing the new one.
3. Inspecting Related Components
Before placing the new belt, inspect the rollers, bearings, and pulleys for any signs of wear or damage. Worn components can cause further issues and reduce the lifespan of your dryer. Make sure everything moves smoothly and is free of debris.
4. Installing the New Dryer Belt
Position the new belt around the drum in the same manner as the old one. Loop the belt around the motor pulley and the tensioner, ensuring it is aligned properly and has the correct tension.
5. Reassembling the Dryer
Once the new belt is in place, reattach the dryer panels, securing all screws tightly. Make sure the panels fit correctly to avoid any rattling or misalignment.
6. Testing the Dryer
Plug your dryer back in and run a test cycle to confirm that the belt is functioning correctly and the drum rotates smoothly.
Cost Considerations for Dryer Belt Replacement
When replacing a dryer belt at home in Delta, understanding the associated costs can help you make an informed decision. Typically, the cost for the dryer belt itself ranges from $10 to $30, depending on the brand and model of your dryer. In addition to the belt, you may need basic tools such as screwdrivers or a socket wrench, which usually cost between $10 and $25 if you don’t already own them.
If the dryer belt replacement seems straightforward and the costs remain low, doing it yourself can be a cost-effective solution. However, if your dryer model has a complicated design or you encounter additional issues during the repair, professional assistance might be necessary. Hiring a professional technician for dryer belt replacement generally costs between $100 and $200, covering labor and parts.
Considering the cost and complexity, it is advisable to opt for professional repair when the price of parts and tools approaches or exceeds the cost of professional service, or when you’re unsure about handling the repair safely.
Conclusion
Replacing your dryer belt in a timely manner is crucial to maintaining your dryer’s performance and preventing more costly repairs down the line. Staying attentive to signs of wear and addressing belt issues promptly ensures your appliance runs efficiently and safely. Regular, safe maintenance not only keeps your dryer in good working order but also extends its lifespan, saving you money over time.
By choosing to replace the dryer belt yourself, you can avoid expensive service fees and gain a better understanding of your appliance. This DIY approach empowers you to keep your dryer running smoothly with minimal downtime, all while enhancing your home maintenance skills. Prioritizing safe and routine upkeep is the best way to protect your investment and enjoy reliable drying for years to come.