
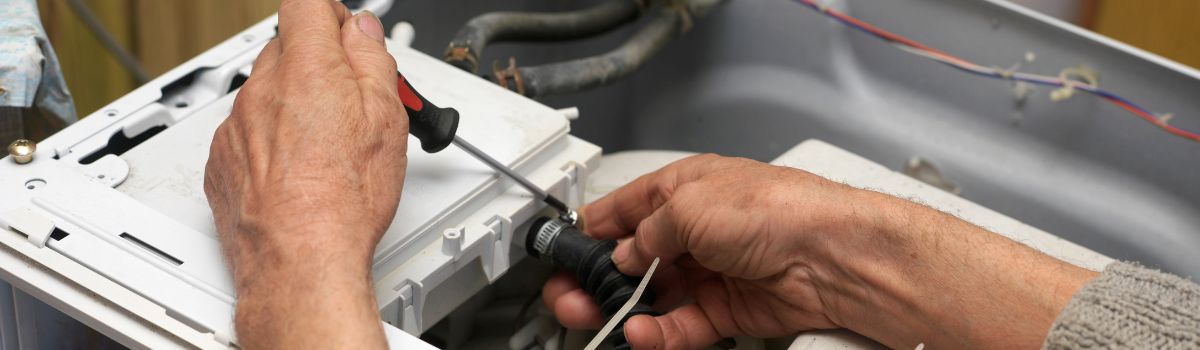
Delta Homeowners’ Safety Checklist for DIY Washer Repairs
Maintaining your washer is essential to ensure it operates efficiently and lasts for years. Timely repairs not only prevent minor issues from escalating into costly problems but also help maintain the cleanliness and hygiene of your household. In Delta homes, where washers are frequently used, regular upkeep is especially important, especially when considering smart washing machine repair.
DIY washer repairs offer several benefits, including saving money and gaining a better understanding of your appliance. However, they also come with risks such as potential electrical hazards, water damage, and further damage to the machine if not handled correctly. Understanding these risks is crucial before attempting any repairs.
Safety must always be the top priority when repairing your washer. Proper precautions, including disconnecting power, using the right tools, and following manufacturer guidelines, are necessary to protect yourself and your home during the repair process.
Understanding the Risks of DIY Washer Repairs
Attempting to fix your washer yourself can seem like a cost-effective solution, but it carries significant risks that homeowners in Delta should consider carefully.
Potential Consequences
One major risk is causing further damage to the washer. Without proper knowledge or tools, a simple repair attempt can escalate into a costly repair or even necessitate a full replacement of the appliance. Additionally, DIY repairs can pose serious safety hazards. These include the risk of electrical shocks, water damage from leaks, and physical injuries while handling heavy or sharp components. Another important factor is that unauthorized repairs often void the manufacturer’s warranty, leaving you without coverage for future issues.
When to Avoid DIY Repairs
You should avoid DIY repairs in several scenarios:
- When the problem involves complex or electrical components, which require specialized knowledge and tools.
- If you are unsure about the repair process or lack confidence in your ability to complete it safely.
- When the washer is still under warranty, as attempting repairs yourself can void this protection and lead to higher costs down the line.
Being aware of these risks and limitations helps ensure that your washer repairs are both safe and effective.
Preparing for a Safe DIY Washer Repair
Essential Safety Precautions
Before starting any washer repair, it is crucial to unplug the washer to eliminate the risk of electrical hazards. This simple step ensures no accidental electrical shock during the repair process. Additionally, turn off the water supply to prevent flooding or water damage while working on the appliance. Using a Ground Fault Circuit Interrupter (GFCI) outlet is also recommended, as it reduces the risk of electrical shocks by quickly shutting off power if a ground fault is detected.
Personal Protective Equipment (PPE)
Wearing the right personal protective equipment is essential for your safety. Insulated gloves protect your hands from electrical shocks when handling electrical components. Safety goggles shield your eyes from debris or splashing water during the repair. Rubber-soled shoes are also important to prevent slipping and reduce the risk of electrical hazards while working.
Workspace Organization
A clean, dry, and well-lit workspace is vital for performing repairs safely and efficiently. Make sure the repair area is free from clutter and any potential tripping hazards. Keep your tools organized and within easy reach to avoid unnecessary movements that could lead to accidents.
Step-by-Step Safety Checklist for DIY Washer Repairs
1. Diagnose the Problem Safely
Start by consulting your washer’s manual for specific troubleshooting guidance. This helps you understand common issues and their symptoms. Avoid guessing the cause of the problem; instead, look for visible signs of damage or wear, such as leaks, broken parts, or unusual noises. A clear diagnosis reduces the risk of unnecessary or incorrect repairs.
2. Power and Water Shutdown
Before beginning any repair, unplug the washer from the electrical outlet to eliminate the risk of electric shock. This simple step is crucial for your safety. Next, turn off the water valves that supply the washer to prevent flooding or water damage during repairs.
3. Use Proper Tools and Equipment
Only use tools that are specifically designed for appliance repair. Using the correct tools not only makes the job easier but also prevents damage to the washer and reduces the risk of injury. Avoid makeshift tools or any that are damaged or worn out.
4. Follow Manufacturer Instructions
Always use official replacement parts recommended by the manufacturer to ensure compatibility and safety. Follow the provided guidelines closely to avoid voiding your warranty or causing further damage. Never bypass safety features; these are in place to protect both you and the machine.
5. Manage Electrical Components with Care
If your repair involves electrical components, discharge any capacitors safely to prevent shocks. Never work with wet hands or in damp conditions, as water increases the risk of electrical accidents.
6. Double-Check Repairs Before Restarting
Before powering the washer back on, verify that all connections are secure and tightened properly. Check for any water leaks that could cause damage or hazards. Finally, ensure all safety covers and panels are correctly replaced to maintain the washer’s safety standards.
Additional Safety Tips and Best Practices
When undertaking DIY washer repairs in Delta homes, following additional safety tips can prevent accidents and ensure a smoother repair process.
Work with a partner if possible: Having someone assist you can enhance safety by providing help when needed and acting quickly in case of an emergency.
Keep children and pets away: The repair area should be clear of children and pets to avoid distractions and prevent accidental injuries.
Have a fire extinguisher nearby: Electrical repairs carry the risk of fires. Keep a suitable fire extinguisher within reach to quickly address any electrical fires that may occur.
Use a multimeter to test circuits: Before touching any wires, use a multimeter to verify that circuits are not live. This helps prevent electrical shocks and damage.
Dispose of old parts and fluids responsibly: Properly discard any replaced parts and fluids according to local regulations to protect the environment and maintain a safe workspace.
Local Resources and Support in Delta
When undertaking DIY washer repairs in Delta homes, having access to local resources and support can make the process safer and more effective.
Community Workshops and Training Sessions
Delta offers community workshops and training sessions for residents interested in learning basic appliance repair skills. These sessions are designed to teach fundamental safety practices, troubleshooting techniques, and repair procedures for washers and other household appliances.
Conclusion
Prioritizing safety is essential to prevent accidents and avoid costly damages when repairing washers yourself. Taking the time to properly prepare and follow a comprehensive safety checklist helps you approach DIY repairs with confidence and reduces risks significantly. It is equally important to recognize your limits; knowing when to seek professional assistance ensures not only the long-term functionality of your washer but also maintains the safety of your home environment. By balancing careful preparation with prudent judgment, you can successfully manage washer repairs while keeping hazards at bay.