
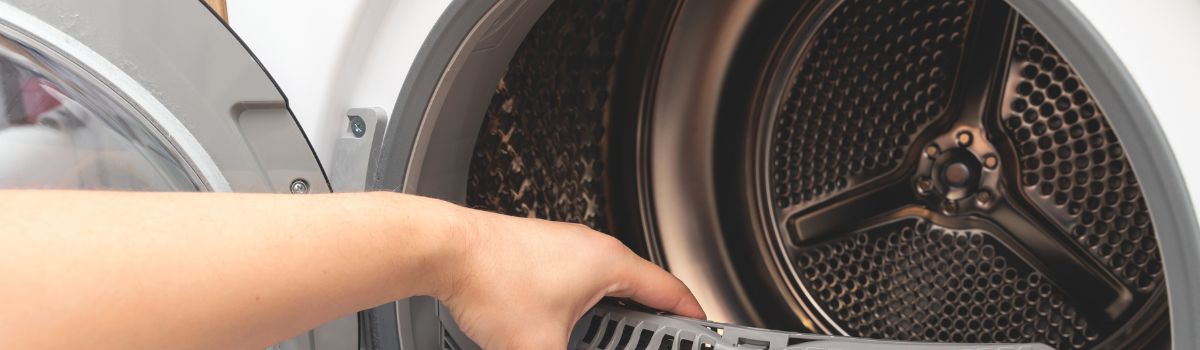
Keep Your Surrey Home Running Smoothly: Step-by-Step Dryer Drum Realignment Guide
Proper dryer drum alignment is crucial for ensuring your dryer operates efficiently and safely. When the drum is correctly aligned, it spins smoothly, providing even drying and preventing unnecessary strain on the machine’s components. Conversely, a misaligned dryer drum can lead to several problems, including excessive noise, uneven drying of clothes, and accelerated wear and tear on the dryer parts.
In this guide, we will provide a detailed, step-by-step process for realigning your dryer drum, specifically tailored for homeowners in Surrey. By following these instructions, you can restore your dryer’s performance and fix issues such as the drum not spinning, extending its lifespan while maintaining safety standards.
Understanding Dryer Drum Mechanics
The dryer drum is a crucial component of any clothes dryer, responsible for tumbling clothes and ensuring even drying. To function properly, the drum relies on several key parts working together seamlessly.
Components of a Dryer Drum System
- Drum: The large cylindrical container where clothes are placed for drying.
- Drum Bearings and Rollers: These support the drum and allow it to rotate smoothly.
- Trunnions: These are the shafts or pins that the drum bearings and rollers rest on, providing structural support.
- Alignment Mechanisms: Components such as idler pulleys and tensioners help maintain the correct positioning and tension of the drum belt, ensuring the drum rotates correctly.
Causes of Dryer Drum Misalignment
Misalignment of the dryer drum can occur for several reasons, including:
- Wear and Tear of Bearings and Rollers: Over time, these parts can degrade or become worn, causing the drum to wobble or shift out of place.
- Improper Leveling of the Dryer: If the dryer is not level on the floor, it can lead to uneven drum rotation and misalignment.
- Damage from Overloading or Foreign Objects: Placing too many clothes or allowing foreign objects inside the drum can stress components and cause misalignment.
Risks of Ignoring Misalignment
Failing to address dryer drum misalignment can lead to several problems:
- Increased Energy Consumption: A misaligned drum requires more effort to turn, causing the dryer to use more electricity.
- Premature Component Failure: Excessive wear on bearings, rollers, and belts can result in costly repairs or replacements.
- Fire Hazards Linked to Dryer Malfunctions: Persistent mechanical issues increase the risk of overheating and fire.
Preparing for Drum Realignment
Before starting the drum realignment process on your dryer, it is crucial to prioritize safety and gather all necessary tools and materials.
Safety Precautions
First and foremost, always unplug the dryer from the electrical outlet to prevent any risk of electric shock while working on the appliance. Ensure you have a clean, well-lit workspace to avoid accidents. Use proper tools designed for appliance repair, and wear protective gear such as gloves and safety glasses to protect yourself from sharp edges and debris.
Tools and Materials Needed
To realign the dryer drum effectively, have the following tools and materials ready:
- A level to check the drum’s alignment accurately.
- Screwdrivers (both flathead and Phillips) to remove and replace screws.
- Replacement bearings or rollers, in case the existing ones are worn or damaged.
- Lubricants to ensure smooth movement of the drum components after realignment.
Having these items prepared beforehand will streamline the repair process and help ensure a successful drum realignment.
Step-by-Step Dryer Drum Realignment Process
1. Level the Dryer
Start by placing a level on top of your dryer to check if it is perfectly horizontal. Uneven placement can cause the drum to misalign and create vibrations during operation. Adjust the dryer’s feet by turning them clockwise or counterclockwise until the dryer is stable and level on the floor. This step ensures that the drum can rotate smoothly without unnecessary strain or wobbling (How To Balance A Dryer Drum).
2. Inspect the Drum Bearings and Rollers
Next, open the dryer cabinet and inspect the drum bearings and rollers for any signs of wear or damage. Worn bearings or rollers can cause the drum to misalign and produce noise or uneven rotation. If you notice cracks, flat spots, or excessive wear, remove the faulty parts carefully and replace them with new ones to ensure proper drum support and movement.
3. Align the Drum
With the dryer level and components inspected, check the drum alignment both visually and manually by rotating it by hand. Pay attention to any wobbling or uneven gaps between the drum and the dryer cabinet. Adjust the trunnions and drum supports to center the drum correctly. For precision, professionals often use techniques such as aligning and grinding to minimize vibrations and reduce wear on the drum and support parts.
4. Test Drum Rotation
After alignment, rotate the drum manually to ensure it moves smoothly and quietly without wobbling or scraping sounds. Apply lubricant to all moving parts as needed to reduce friction and extend the life of the components. This step is crucial to confirm that the drum is properly realigned and ready for normal operation.
5. Reassemble and Final Check
Finally, reassemble all dryer components securely. Run a complete test cycle to verify that the drum rotates correctly, operates quietly, and that any previous issues such as noise or vibration have been resolved. This final check confirms the success of the realignment process and ensures your dryer is functioning optimally.
Troubleshooting Common Issues
Noises During Operation
If you hear unusual noises while your dryer is running, it’s important to identify the source quickly to prevent further damage. Common causes include worn bearings, faulty rollers, or the drum hitting the frame. Bearings and rollers often create a squeaking or grinding sound, while a drum hitting the frame typically results in a loud banging or thumping noise.
To minimize damage immediately, stop using the dryer and inspect the drum support components. Lubricate the rollers or replace worn bearings if necessary. Check the drum alignment to ensure it isn’t rubbing against the frame. Addressing these issues promptly can prevent costly repairs.
Uneven Drying or Drum Wobbling
Uneven drying is often a sign that the drum is not rotating properly or is wobbling during operation. This can be caused by misaligned drum rollers, a damaged belt, or an out-of-balance load inside the dryer.
To correct this, first redistribute the clothes evenly inside the drum and avoid overloading. Inspect the drum rollers and belt for wear and replace them if needed. Realigning the drum so it rotates smoothly without wobbling is crucial for consistent drying performance.
Excessive Vibration
Excessive vibration during dryer operation usually indicates an alignment or balance problem. A drum that is not properly aligned can cause the entire unit to shake, potentially damaging internal components.
To reduce vibration, check that the dryer is level on the floor. Realign the drum by adjusting the support rollers and ensuring the belt tension is correct. Balancing techniques, such as evenly distributing the load and replacing worn parts, will help stabilize the drum and minimize vibrations.
Conclusion
Regular dryer drum realignment is essential for maintaining the efficiency and safety of your dryer. Misaligned drums can cause uneven wear, increased noise, and even pose fire hazards, making timely maintenance a critical task for every homeowner.
By proactively addressing drum alignment issues, Surrey homeowners can extend the lifespan of their dryers while minimizing the risk of costly repairs or dangerous malfunctions. Routine realignment not only ensures smoother operation but also promotes energy efficiency and safer drying cycles.
Remember, keeping your dryer drum properly aligned is a straightforward step that yields significant benefits in safety and performance. Prioritizing this maintenance task helps protect your home and ensures your dryer continues to function reliably for years to come.