
Step-by-Step Electrical Repair Guide for Refrigerators
Understanding and Fixing Refrigerator Electrical Problems: A Step-by-Step Guide
Electrical problems in refrigerators can feel overwhelming, but they’re often easier to fix than you might think. Refrigerators depend on electrical parts to keep your food fresh, and when something goes wrong, the entire appliance can stop working properly. It’s important to recognize warning signs early, like when your fridge doesn’t turn on, the lights inside don’t work, or you hear strange noises. Knowing how to troubleshoot these issues can save you money and help your refrigerator last longer. Understanding how technology affects refrigerator lifespan can also provide insights into why certain components fail and how to address them effectively. By learning some basic repair steps, you can handle minor problems on your own and avoid expensive repair services.
Understanding Refrigerator Electrical Components
Your refrigerator has several electrical parts that work together to keep it running. Here are the key components:
- Thermostat: Controls the temperature inside the fridge.
- Control Board: Acts like the brain, managing cooling cycles and defrosting.
- Compressor: Circulates the refrigerant to keep the fridge cool.
- Fuses: Protect the fridge from electrical surges.
- Wiring: Connects all the components so they work together.
For example, your fridge might get too warm or cold if the thermostat stops working. If the compressor fails, the fridge won’t cool at all. Check your user manual or look up diagrams online to locate these parts. Knowing where everything is will make it easier to find and fix problems.
Safety Precautions Before Starting
Safety should always come first when working with electrical appliances. Follow these steps to stay safe:
- Unplug the fridge before starting any repairs to avoid getting shocked.
- Make sure your workspace is clean and dry.
- Use tools with insulated handles to protect yourself.
- Wear gloves and safety goggles for extra protection.
Some repairs, like handling refrigerants or fixing complex wiring, should be left to professionals. Knowing your limits will keep you safe and prevent further damage to your appliance.
Essential Tools and Materials
Having the right tools makes refrigerator repairs much easier. Here are the basics:
- Multimeter: Tests electrical parts to see if they’re working.
- Screwdrivers: For removing panels and screws.
- Wire Cutters: For fixing or replacing wires.
- Flashlight: Helps you see small parts in dark spaces.
You might also need replacement parts like fuses, relays, or thermostats. Check your fridge’s user manual to determine which tools and parts are specific to your model.
Diagnosing Common Electrical Issues
Figuring out what’s wrong is the first step to fixing your fridge. Here’s how to diagnose some common problems:
- Fridge Not Turning On: Make sure it’s plugged into a working outlet. Check the circuit breaker and inspect the power cord for damage.
- Cooling Issues: If the fridge isn’t cold enough, the thermostat or defrost system might be the problem. Test the thermostat with a multimeter and check the defrost timer and heater.
- Unusual Noises: Humming or buzzing could mean a problem with the compressor’s start relay. Rattling sounds might come from a loose fan blade.
Use a multimeter to test parts and confirm which ones must be replaced. This step ensures you’re solving the right problem.
Step-by-Step Repair Process
Follow these steps to fix electrical issues in your refrigerator:
Step 1: Unplug and Inspect
Start by unplugging the fridge. Look for obvious issues, such as burned wires, loose connections, or corrosion on parts.
Step 2: Test Components
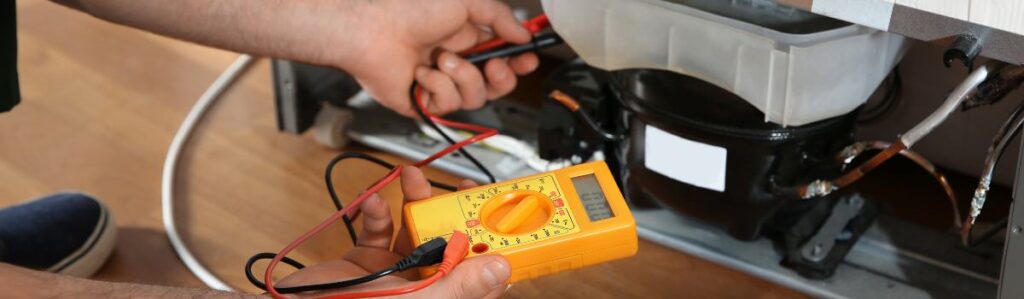
Use a multimeter to check the fuses, thermostat, and other parts to ensure they’re working properly.
Step 3: Replace Faulty Parts
If you find a broken part, carefully remove it and install a new one. For example, replacing a blown fuse involves unscrewing the old one and attaching the replacement securely.
Step 4: Reassemble and Test
Put everything back together and plug it into the fridge. Check if it’s working properly. Monitor it for a few hours to make sure the problem is fixed.
Preventive Maintenance Tips
Taking care of your fridge can help prevent future problems. Here’s what you can do:
- Clean the condenser coils twice a year to keep the fridge running efficiently.
- Check the door seals regularly and replace them if they’re worn out.
- Avoid blocking air vents or overloading the fridge, as this can strain the electrical system.
- Inspect the wiring and connections during routine maintenance to catch small issues before they become big problems.
By following these tips, you’ll keep your fridge in good shape and reduce the chances of costly repairs.
Troubleshooting FAQs
Here are answers to some common questions about refrigerator repairs:
What if my fridge still doesn’t work after repairs?
Double-check your work to make sure all parts are installed correctly. If the issue persists, it might be time to call a professional.
How do I know if the compressor is the problem?
Listen for unusual noises and use a multimeter to test it. If the compressor is overheating or won’t start, it might need to be replaced.
These tips help you troubleshoot more effectively and feel confident about your repairs.
Conclusion
By learning how to diagnose and fix electrical problems in your refrigerator, you can take charge of its maintenance and save money. Regular cleaning and inspections will keep it running efficiently, while timely repairs will extend its lifespan. If you ever feel unsure about a repair, don’t hesitate to call a professional. With these tips, you can keep your refrigerator in shape and avoid unnecessary hassles.