
DIY Guide to Sealing Washing Machine Tub
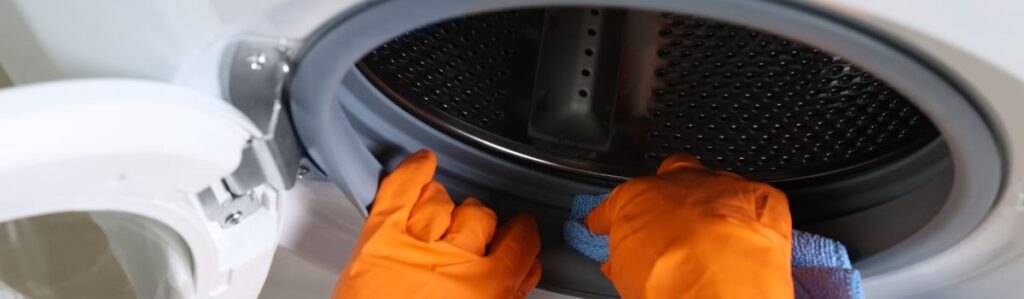
Stop the Leaks: A Step-by-Step DIY Guide to Sealing Your Washing Machine Tub
A leaking washing machine can quickly turn a minor annoyance into a full-blown headache. It wastes water and can damage your floors, lead to expensive repairs, and create a breeding ground for mould and mildew. Surprisingly, one small but critical part the tub seal often causes these problems.
The washing machine tub seal creates a watertight barrier between the drum and the outer tub. When this seal wears out, cracks, or becomes loose, water leaks out during cycles, potentially damaging the machine’s bearings and electrical components. Ignoring it can snowball into larger issues, including costly professional repairs or needing to replace your washer altogether.
The good news? Fixing a leaking tub seal is something you can do yourself with a bit of time, the right tools, and some patience. This comprehensive guide will walk you step-by-step through the process of identifying a faulty tub seal, preparing for the repair, and successfully replacing it. By the end, you’ll have the confidence to tackle the repair and extend the life of your washing machine.
What is a Washing Machine Tub Seal?
Although the washing machine tub seal may not be something you think about daily, it plays a critical role in keeping your appliance running smoothly. Its main purpose is to prevent water from escaping the drum and leaking into other machine components.
Depending on the type of washing machine you own, the location and design of the tub seal may differ:
- Top-Load Washers: The tub seal is typically located at the bottom of the drum, where the agitator shaft passes through.
- Front-Load Washers: The seal behind the drum often surrounds the bearings to protect them from water damage.
Why Do Tub Seals Fail?
Tub seals are constantly exposed to water, detergent, and dirt. Over time, this causes them to degrade or become misaligned. Here are the most common reasons tub seals fail:
- Natural Wear and Tear: Years of regular use eventually wear down the seal’s rubber or plastic components.
- Mold and Buildup: Detergent residue, dirt, and moisture can lead to mold growth, which can weaken the seal’s material.
- Overloading: Consistently loading too much laundry puts excess strain on the drum, which can damage the seal.
- Poor Maintenance: Skipping regular cleaning allows dirt and mould to accumulate, accelerating the seal’s deterioration.
Understanding the tub seal’s role and common failures can help you feel better prepared to identify and resolve the issue.
Signs Your Tub Seal Needs Replacement
I’m not sure if your tub seal is the issue. Look for these telltale signs that it’s time for a replacement:
Water Pooling Under or Around the Washer
Leaks are the clearest indicator of a faulty tub seal. If you notice water accumulating under the machine after a wash cycle, particularly during the spin cycle, the tub seal is likely compromised.
Unusual Noises
A worn tub seal allows water to seep into the bearings, causing grinding, squealing, or thudding noises when the drum spins. These sounds indicate internal damage that could worsen if ignored.
Mold or Mildew Smell
Moisture trapped around a damaged seal creates the perfect environment for mold growth. If you notice a persistent musty odour around your washer, check the seal for mold or mildew buildup.
Visible Damage to the Seal
Inspect the tub seal for visible cracks, warping, or loose edges. Even small tears can allow water to escape and should be addressed immediately.
Quick Inspection Tip
To confirm the tub seal is leaking, tilt your machine slightly and inspect the area beneath it. Use a flashlight to look for water stains, rust, or moisture around the drum and surrounding parts. If you find evidence of leaks, you’ve likely identified the problem.
Tools and Materials Needed
Before starting the repair, make sure you have everything you need to avoid unnecessary interruptions. Here’s a complete list of tools and materials:
Basic Tools:
- Phillips screwdriver
- Flathead screwdriver
- Adjustable wrench
- Pliers (needle-nose and regular)
Specialty Tools:
- Tub seal puller (optional but helpful for stubborn seals)
Materials:
- Replacement tub seal (double-check your washer’s model number for compatibility)
- Cleaning cloths
- Mild detergent or cleaning solution
- Lubricant (if required for the new seal)
Pro Tip:
Locate your washing machine’s model number before purchasing the replacement seal. It is usually found on a label near the door, back panel, or underneath the lid. Using the wrong part can cause installation issues and continued leaks.
Preparing to Replace the Tub Seal
Preparation makes the process much smoother and safer. Follow these steps before diving into the repair:
- Turn Off the Power and Water Supply
- Unplug the washing machine from the outlet.
- Shut off the hot and cold water valves connected to the machine.
- Disconnect Hoses and Drain Line
- Use pliers to loosen the water supply hoses. Place a bucket underneath to catch any remaining water.
- Detach the drain line from the back of the washer.
- Move the Washer to an Open Area
- Pull the washing machine away from the wall and position it in a well-lit workspace with plenty of room to maneuver.
- Safety Reminders:
- Wear gloves to protect your hands from sharp edges and dirty components.
- Keep your tools organized and nearby for quick access.
- Step-by-Step Guide to Sealing the Tub
Disassembling the Washing Machine
The disassembly process varies slightly depending on whether you have a top-load or front-load washer:
For Top-Load Washers:
- Remove the control panel by unscrewing it and lifting it up.
- Lift the top cover to access the drum.
- Remove the agitator and carefully lift the drum to expose the tub seal.
For Front-Load Washers:
- Remove the front panel and door.
- Detach the drum housing and carefully pull the drum forward to reveal the tub seal.
Caution: Be mindful of control wires and small components. Take photos as you disassemble to facilitate reassembly.
Removing the Old Tub Seal
- Locate the tub seal around the base of the drum.
- Use a screwdriver or pliers to carefully pry the seal out of place.
- Avoid scratching the surrounding surfaces to ensure a smooth fit for the new seal.
Installing the New Tub Seal
- Clean the Area: Use a cloth and mild detergent to remove dirt, mold, and debris from where the old seal sat.
- Lubricate (If Needed): Lightly coat the new seal with lubricant to help it slide into place.
- Fit the New Seal: Position the seal evenly in its groove and press it firmly until secure.
Reassembling the Washing Machine
- Reverse the disassembly process: reinstall the drum, agitator, panels, and control panel.
- Tighten all screws and connections securely.
Testing Your Washing Machine
Once the machine is reassembled:
- Run a short test cycle without any clothes.
- Check for leaks around the machine and listen for unusual noises.
- If leaks persist, inspect the seal alignment and connections.
Maintenance Tips to Prevent Tub Seal Failure
- Wipe the drum and gasket regularly to remove moisture and residue.
- Avoid overloading the machine to reduce strain on the seal.
- Keep the door open between cycles to promote airflow and prevent mold buildup..
Frequently Asked Questions (FAQs)
How long does this repair take?
About 2-3 hours for beginners, depending on your experience and the washer model.
Is it worth replacing the tub seal?
Replacing the seal extends the washer’s life and prevents costly water damage.
How do I ensure a watertight seal?
Clean the area thoroughly before installing and firmly press the new seal.